Assets setup
Requirements
- You need node >= 6 installed (using NVM is recommended)
- Install the generator
npm install -g yo generator-rn-toolbox - You need
imagemagickinstalled to use this generator.
On a mac, you can install it with brew:
brew install imagemagick
Generate icons
You’ll need a square image for your icon with a size of more than 192x192 px (psd is supported).
iOS
Starting with XCode 9, your Apple App Store icon is bundled with the app, so provide an icon with a size of more than 1024x1024 px (psd is supported).
Then run:
yo rn-toolbox:assets --icon icon.png
Answer yes when asked about overwriting.
That’s it! :balloon: Icons have been generated in different sizes and integrated in your project.
Android
- Open your project in Android Studio
- Right click on the
appfolder, then click onNewand then click onImage Asset. If you don’t see this menu, be sure that you got the latest gradle version (should work with gradle >=3.4.2) - In the
Icon Typefield selectLauncher Icons (Adaptative and Legacy) - In the
pathfield, select your image file - Once done, click on the
Nextbutton and then on the finishbutton
Generate splashscreens
You’ll need a square image for your splash with a size of more than 2208x2208 px (psd is supported). The image will be cropped, it should be the logo of the app inside a big square with a 30% margin. Be aware that content located on the edges of the picture might get cut (see example with bottom content and example with right side content where the logo is cut).
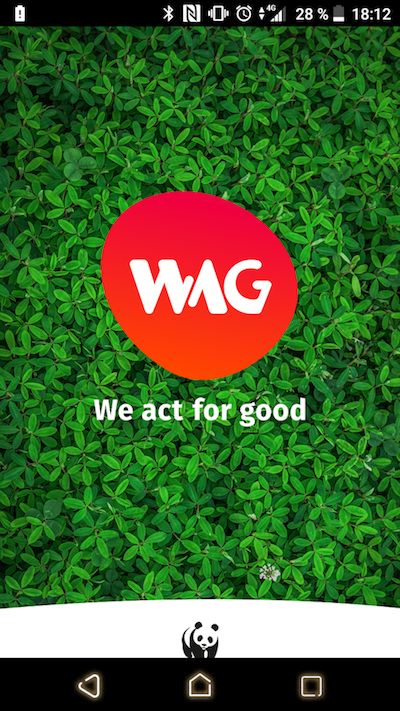
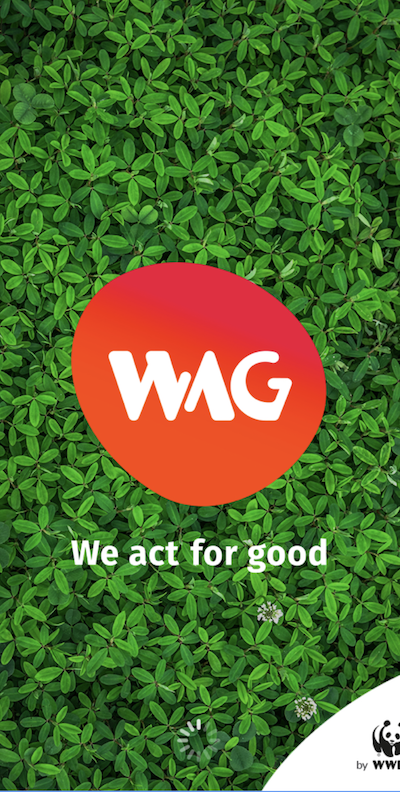
iOS
Run:
yo rn-toolbox:assets --splash splash.psd --ios
You’re all set! :dancer:
IMPORTANT: You will need to uninstall the app from device/emulator first before seeing the changes.
If you want to adjust the margin of your image, you can run this command in your terminal :
convert <splash_screen_path> -background <backgroun_color> -gravity center -extent <new_size> <new_image_name>
For instance :
convert ./splashcreen.png -background 'white' -gravity center -extent 3200x3200 splash.png
will generate a new image (splash.png) with a size of 3200x3200 and will place the old image (splashcreen.png) in the center, surrounded by white color
Android
The generator only supports a splash with a plain background color on Android.
Run:
yo rn-toolbox:assets --splash splash.psd --android
In order to set the background color go in YOURPROJECT/android/app/src/main/res/values/colors.xml and put an hexacode instead of the rgb(0,0,0).
You’re done! :dancer:
IMPORTANT: You will need to uninstall the app from device/emulator first before seeing the changes.
Generate Store assets
You’ll need to specify:
- an icon with a size of more than 512x512 px (psd is supported).
- a splash screen image for the play store image with a size of more than 1024x500 px (psd is supported).
yo rn-toolbox:assets --icon icon.png --splash splash.psd --store
This will create 3 files at the root of your project:
itunes-icon.pngplay-store-icon.pngplay-store-image.png
Generate Android notification icons
When setting up push notifications on Android (with React Native Push notification for instance), you’ll need a status bar icon.
You’ll need an image for your icon with a size of more than 96x96 px (psd is supported).
yo rn-toolbox:assets --android-notification-icon icon.png
Run the command only for a platform
You can select the platform you want to generate assets for. For instance:
yo rn-toolbox:assets --icon icon.png --android
yo rn-toolbox:assets --splash splash.psd --ios
Hide Splashscreen from JS code
You can use react-native-splash-screen for iOS.
Troubleshooting
- Getting
Error: Command failed: Invalid Parameter - -resizeon Windows
Reinstalling ImageMagick with the legacy tools should do the trick:
